Configure Synkzone SCIM for Entra ID
Create an enterprise application
In Microsoft Azure, navigate to enterprise applications, e.g. by using the search bar.
- Create a new application [+ New application]
- Select “+ Create your own application”
- Write a descriptive application name such as “Synkzone SCIM”
- Select “Integrate any other application you don't find in the gallery (Non-gallery)”
- Add an owner to the application Owners, + Add owner.
Add users and groups to enterprise application
Add users and/or groups from the AD as required, under “Manage”, click “Users and groups”. Click “+Add user/group”, Under “Users and groups”, click “None Selected”, select a user/group from the view and assign to the application.
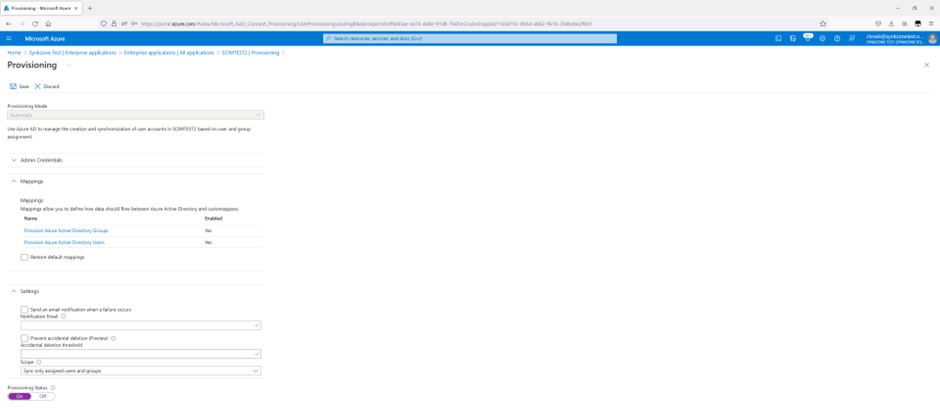
Configure provisioning
Navigate to “Provisioning”. Use the overview to setup the application, start with connecting the application: "Connect your application".
Connect application
| Admin credentials | |
|---|---|
| Select authentication method | Bearer authentication |
| Tenant URL | https://<address/SCIM> |
| Secret token | The shared secret between The Synkzone SCIM module and Entra ID Enterprise application. Known in SCIM properties as azure.token |
Test the connection to the application by "Test connection". A successful connection is needed to continue with the setup. When a successful connection is made, create the configuration.
Attribute mapping
Configure attribute mappings in Provisioning > Manage > Attribute mapping, see tables for Users and Groups.
Test provisioning
To test the provisioning, use the "provision on demand".
Enable automatic provisioning
When the provisioning is to run automatically, set the provisioning status to on. This is enabled in Provisioning > Manage > Provisioning.
Set notification mail to recieve information upon failures.
Do not forget to save changes.