Quick guide Synkzone Desktop
1. Overview
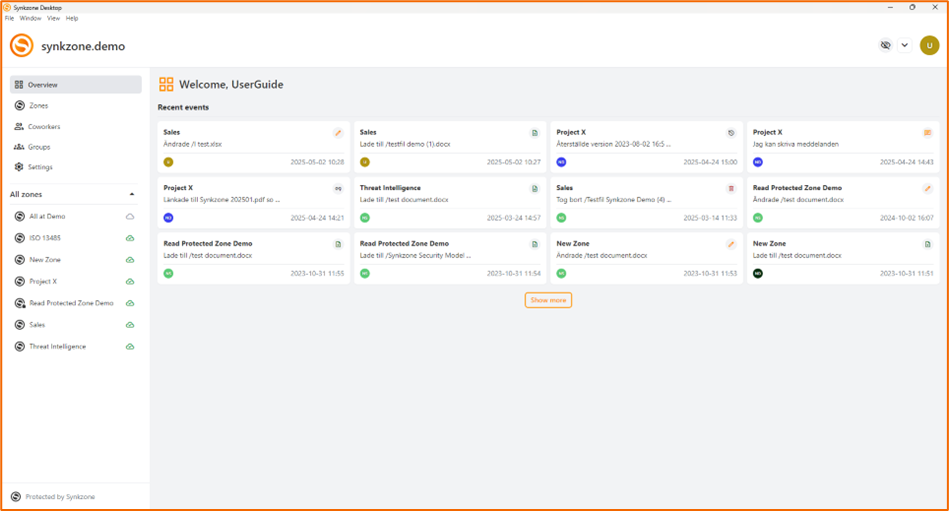
This is the start view and here you will find your zones, your co-workers, groups and the most recent events in the zones you are a member of.
2. Zones
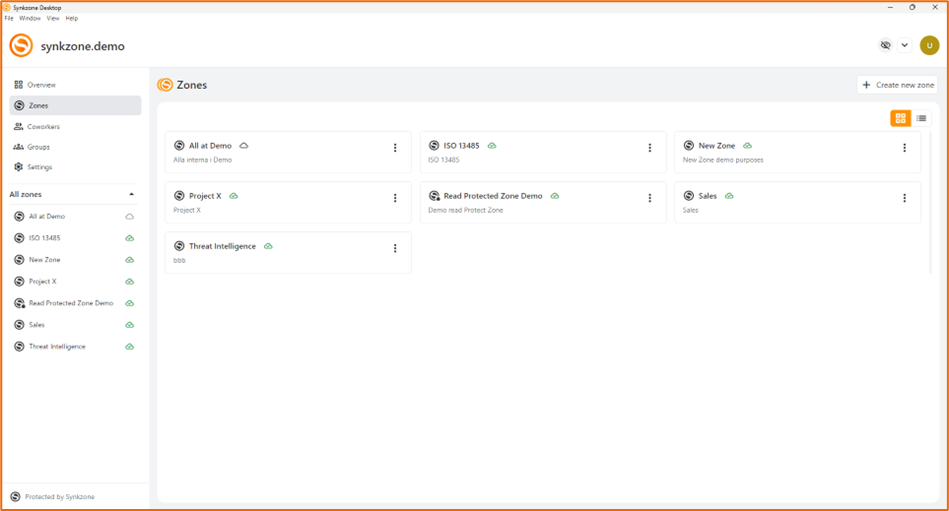
A zone is a secure space for collaboration where you both store and share files securely, internally within the organization and externally in a project with partners or customers. Each zone is cryptographically separated from each other. You see the zones you have access to under the zones icon.
There are two different zones: Normal zone and Read protected zone.
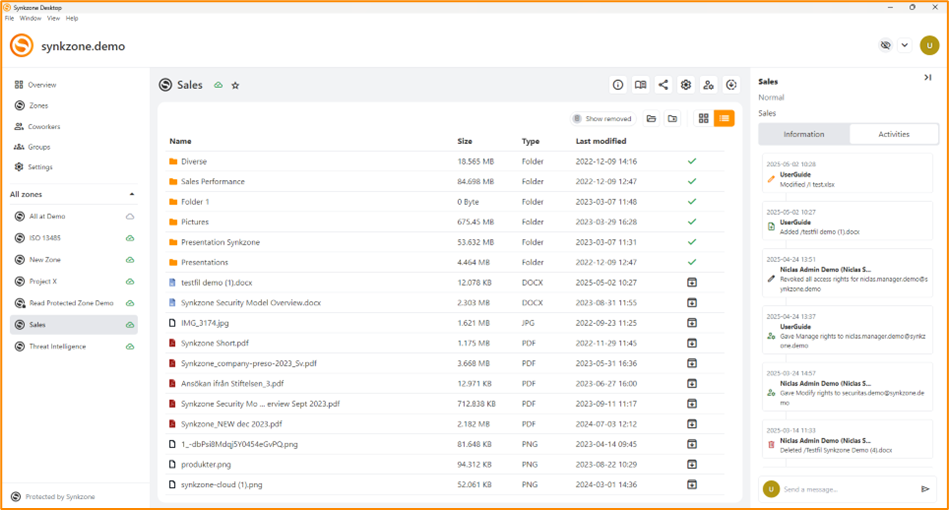
Zone log and members
Each zone has their own Zone Log that contains all activities within the zone. The Zone Log will be reached either by expanding the right panel or by pressing “i” or by opening the detailed Zone Log by pressing the book icon. The Zone Log can also be used for secure messaging within the zone.
Press the tab “Information” and all zone members will be displayed.
3. File handling
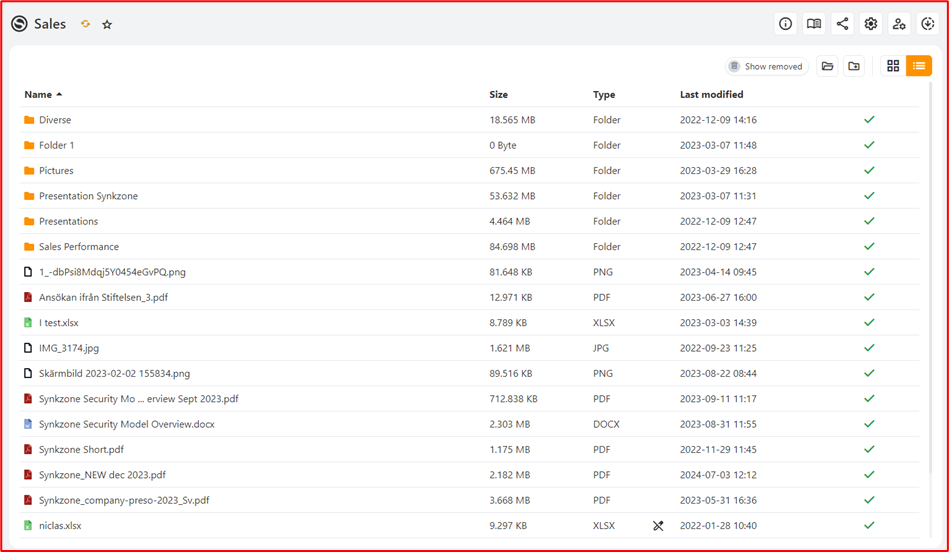
Each zone has its own file structure.
Synchronizing files
Using the synchronizing client Synkzone Desktop you will never need to upload or download any files. This will be taken care of by the client as long as it is running on your computer, and you are logged in. As soon as you save a file at our computer at a file location that is controlled by Synkzone Desktop the files will be synchronized and available for all members within the zone. You will find location of the files on our local disc by clicking the icon:
File information
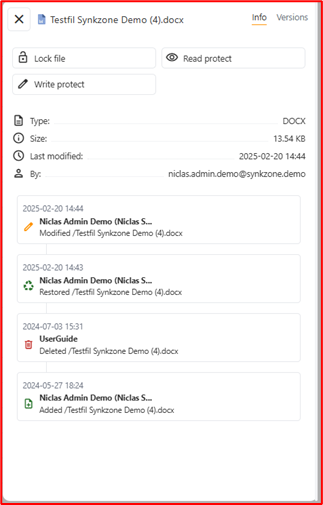
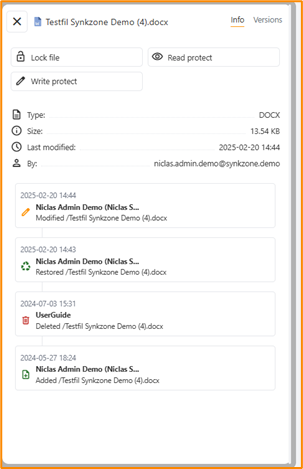
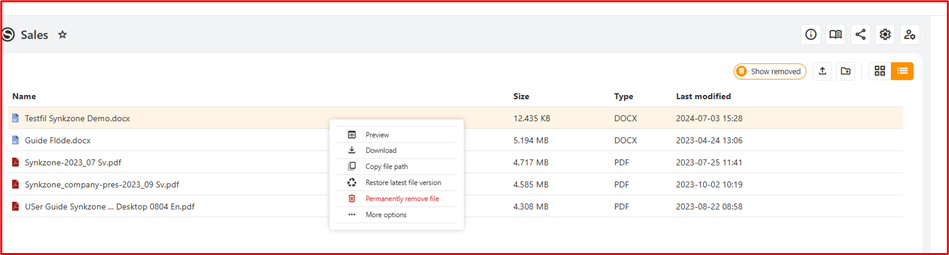
By right clicking the file and select “More Options” you will find a dialogue box with all the information about the file.
File locks
To avoid conflicts, it’s recommended to use file locks. By using file locks, you can avoid creating unnecessary conflicts when many users are expected to work, contribute to the same file. If a conflict is created the system will warn you and create a specific conflict version to avoid wiring over information. An information file is created where you can identify with whom and when the conflict occurred, that file is called “~Conflicts.txt”.
Synkzone has three different file locks. Right click a file, choose “More information” and you will have the following options: - Read protect: A file that is read protected requires that you enter either your password or your OTP (depending on log on policies). The file is visible on your client but stored encrypted on and the server. To access a read protected file you need to be online. The file will open in the host application but never automatically be downloaded to your local disc. - Write protect: Prevents a file from being modified. No one can modify a write protected file and upload it with the same name. Used when you would like to avoid changes to a certain file. - Lock file: Protects the file from being changed by anyone else than the one that locked the file. Used when you would like to make sure that a file can’t be changed by anyone else.
Note! A Zone Manager can override any file lock.
Rules for synchronization
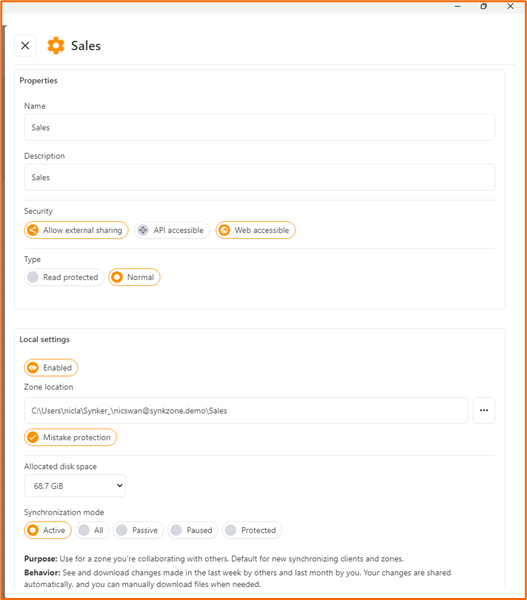
Only Zone Managers can change the Zone properties but as a member of a normal zone, you can make changes to settings around synchronization.
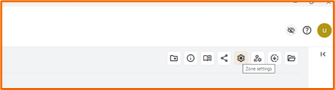
Open the zone settings by clicking:
Zone synchronization settings: - Zone location, select where the files will be downloaded and saved onto your client. Default setting is made by the application. Default is recommended for most users. - Mistake Protection helps you avoid any mistakes. Default is recommended for most users. - Allocated disc space, how much local disc space that you allow a certain Zone. E. g. if a Zone contains 2GB of data and you set it to 1 GB, the latest 1GB will be downloaded locally and the rest will be archived files at the server and accessible when connected. - Synchronization mode, For most user “All” is recommended as synchronization mode. The different options are described in the application.
Save changes to your settings by pressing “Save”.
Open mode - temporarily disable Read Protection
“Open Mode” is a setting that allows you to temporarily disable read protection in Read Protected Zones and the read protect locks in Normal Zones. Helpful when during a period working with many files or e.g. CAD.
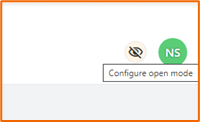
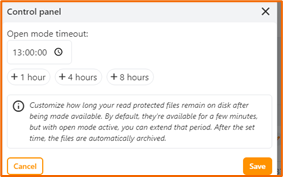
When the timeout for Open mode is reached, all files will be archived according to the zone settings.
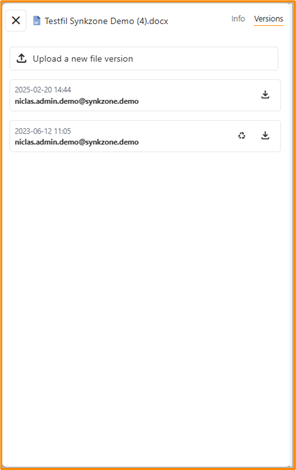
Version history of files
When a file is changed, a new version will be created and uploaded. You can always revert a file to an earlier version: - Normal zones: 20 versions, 60 days - Read protected zones: 20 versions, 60 days
If there is more than one version of the file, the two latest will always be saved (even for longer than 60 days).
Deleted files
Files can be deleted in two steps: remove and permanently remove. Right click a file and select “Remove”. In “Show Removed” you can either restore or permanently delete the file.
As a built-in protection from deleting files by mistake only Zone Managers can permanently delete files from a zone.
4. Synkzone Share - share file with others
Synkzone Share is used to share single files with an individual that is not a member of a zone. This function is great for sharing single files with users outside the zone if needed. It’s e.g. very usable for large files that are not possible to send via email.
Beware that the link that you e-mail is not protected and if someone manages to retrieve your e-mail in some way, that person will be able to use the link to download the file! It is advisable to send the link via more secure communication like some secure e-mail or Signal.
This functionality is only available from within zones where the Zone Manager allows “External Sharing”. Note that both allow external sharing and web accessible need to be allowed on a zone to enable the file sharing feature.
Share a file
Right click the file and select “Share file”. You’ll be guided through the steps needed. You need to enter your password to embed the token needed to share the file. When the link is green and available, copy it and share it with the recipient.

Overview shared files
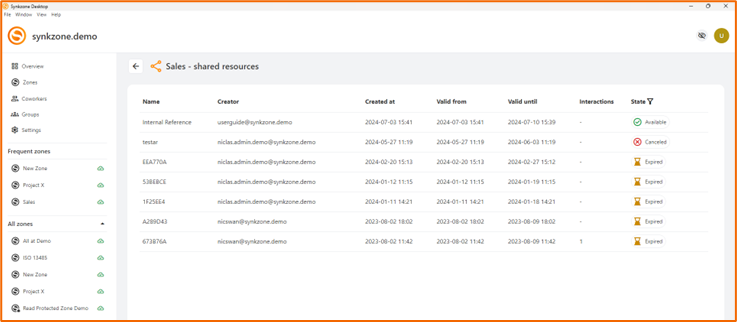
By clicking the icon “Shared resources” you will access all shared files from the specific zone.

5. Migrate data
Migrate to Synkzone
Migrating data to Synkzone is easy and can be done using both the web and desktop client, even though we recommend using the desktop client.
Before you get started, decide on a strategy on how to structure your data and which zones you should create to fulfil that strategy. - Create the zones (managers and members can be added during creation or later) - For each zone: - Navigate to the mapped folder on your local disk - Add the content to that folder - Wait for the zone to be fully synchronized - Your data is now stored in Synkzone
If you’re migrating a lot of data, and having many zones, the complete synchronization of all zones can take a while. It’s possible to go offline during the synchronization, which will then make a pause and continue again when you’re back online.
Separate files can maximum have the size of 12 GB and a single folder can contain a maximum of 4000 files.
Migrate from Synkzone
If you want to move your information from Synkzone to another service, use the Synkzone Desktop client and follow these steps for each zone in the organization:
- Go to zone settings
- Choose synchronization mode “All” and adjust “Allocated disk space” to cover the total size of all the content of the zone
- Wait until the zone is fully synchronized
- All files are now available in clear text to copy on your local disk and move to desired location
6. Forgot password or credentials
If you forgot your password or your credentials, please contact the individual that invited you to Synkzone. They will be able to assist you.